·

Are you excited to upgrade your property with a brand new fence? Installing a fence can provide privacy, security, and enhance the overall aesthetics of your outdoor space. While the idea of a new fence is thrilling, it’s important to understand the process and what to expect during its construction. In this post, we’ll walk you through the key steps involved in building a fence with DH Fence Pros, from the initial demolition of the old structure to the final touches of cleanup.
Step 1: Demolition of the Old Fence and Clearing the Fence Line
The first step in building your new fence is to remove the old one, if applicable, and clear the fence line. This may involve dismantling and disposing of the old materials, including posts, panels, and any other components. It also means that if there are any plants or tree branches in the way, these need to be transplanted prior to starting demolition or tree branches may need to be cut to make room for the new fence. Clearing the fence line ensures that the construction crew has a clean slate to work with, making it easier to install the new fence.
Step 2: Setting Posts in Concrete
The foundation of a sturdy fence lies in the proper installation of the fence posts. This step involves digging holes for the posts along the fence line and then setting them securely in concrete. Using a string line, the posts are aligned carefully to ensure the fence’s stability and straightness. It’s important to allow adequate time for the concrete to cure and harden, as this will provide a solid base for the rest of the construction process. This is weather dependent and depends on the type of concrete being used – there is fast-setting concrete which has a much shorter curing time than other types of concrete.
The distance between each post depends on the style of fence being built, the layout of the build area and also the terrain. Posts are typically spaced evenly apart, but occasionally rocks or roots in the ground change where a post may be set.
Step 3: Fence Layout and Measurement
Before the actual construction begins, the fence company will meticulously measure and plan the layout of the fence. This step ensures that the fence lines are accurate, the height is consistent, and any gates are properly positioned. Precise measurements and layout planning are crucial to achieving a professional and visually appealing result. Once this plan is set, the top of the post is cut and the fence plan is fully in motion!
Step 4: Building the Fence and Gates
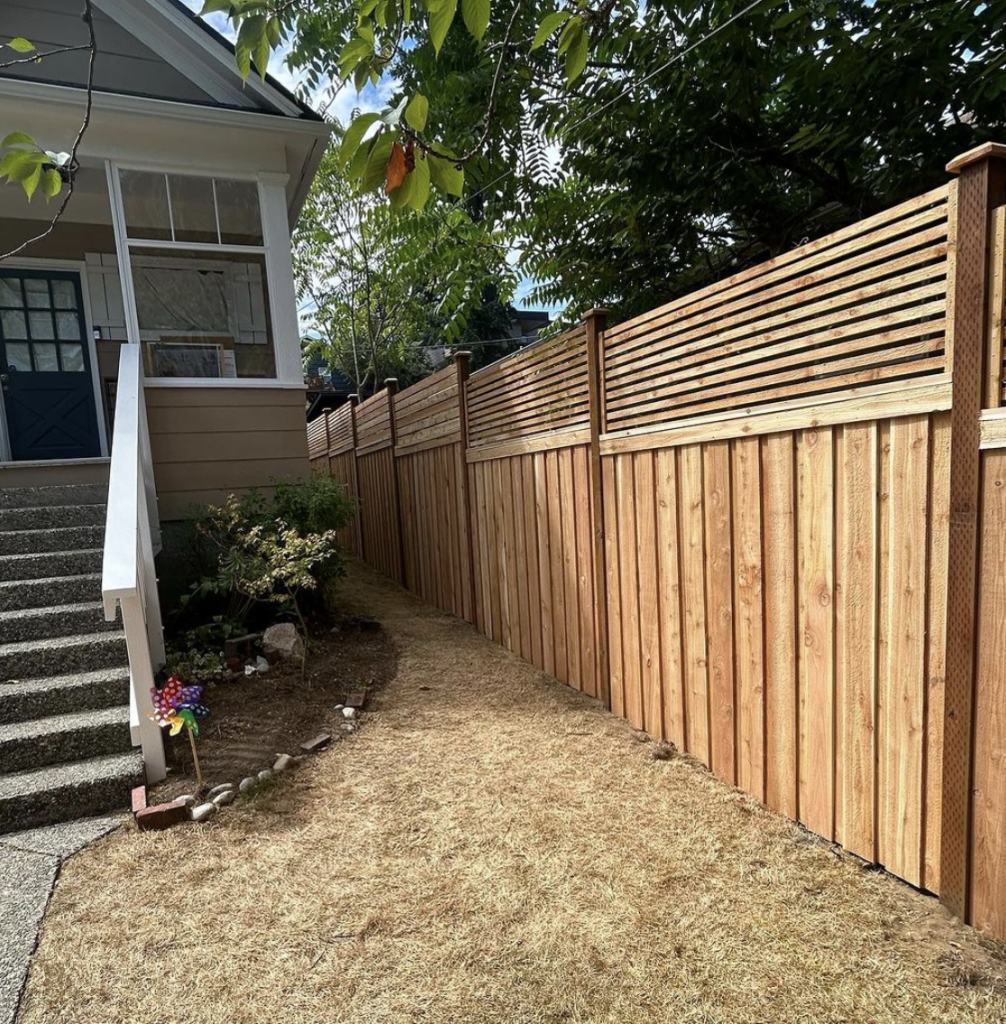
With the posts set and the layout finalized, the construction crew will begin installing the fence panels or pickets. Depending on the type of fence you’ve chosen, this could involve attaching 2×4 rails, individual boards, or hogwire panels. Careful attention is paid to maintain even spacing, level heights, and proper alignment. If your fence includes gates, they will be built and hung during this phase, allowing easy access to your property.
Step 5: Clean-Up and Final Touches
As the construction wraps up, the crew will thoroughly clean the construction site, removing any debris and excess materials. This ensures that your property is left in excellent condition and ready for you to enjoy your new fence. Any equipment used during the construction process will be cleared away, leaving you with a clean and inviting outdoor space.
Conclusion
Having a fence installed on your property is an exciting endeavor that can greatly enhance both its appearance and functionality. By understanding the step-by-step process, from the demolition of the old fence to the final clean-up, you’ll be better prepared for the construction journey. Hiring a professional fence company with expertise in these steps will ensure that your fence is built to last and meets your expectations in terms of quality and aesthetics. So get ready to enjoy the benefits of your new fence, whether it’s for privacy, security, or simply adding a touch of elegance to your outdoor space. Reach out to DH Fence Pros to get the process started today!


